

Knowledgebase
How to add a new domain to the hosting account
Enterprise hosting plans at Uber Technologies suggest that you can host more than one domain name in one hosting account. In this way you can host more websites and e-mail accounts without purchasing a new hosting account.
In order to add a new domain to your hosting account, you need to perform two basic steps – change the nameservers for the domain to our hosting ones and then add your domain name to the server your account is hosted on.
Follow the instructions below to achieve this goal:
Step 1 – Change the nameservers
To begin with, you will need to point your domain to our hosting nameservers. Guidelines on how to change nameservers for shared plans for domains which are registered at Namecheap can be found here.
Step 2 – Add the new domain as an Addon Domain
Once the domain name is pointed to correct nameservers, you can add it as an addon in your cPanel.
1. Log into your cPanel.
2.Navigate to the Domains section> Addon Domains: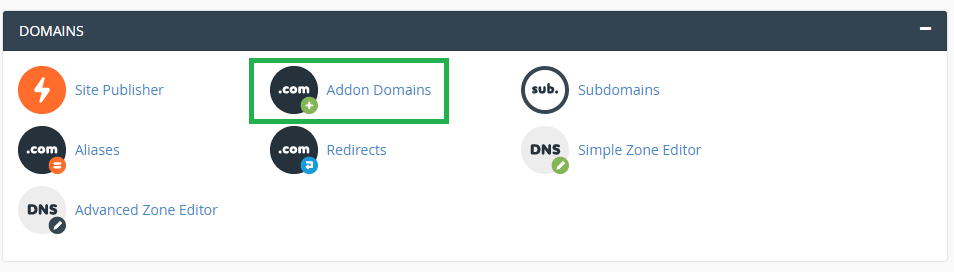
3. Enter the necessary information in the Create an Addon Domain section.
New Domain Name: domain name you wish to add as an addon
Subdomain: will be filled automatically
Document Root: will be filled automatically 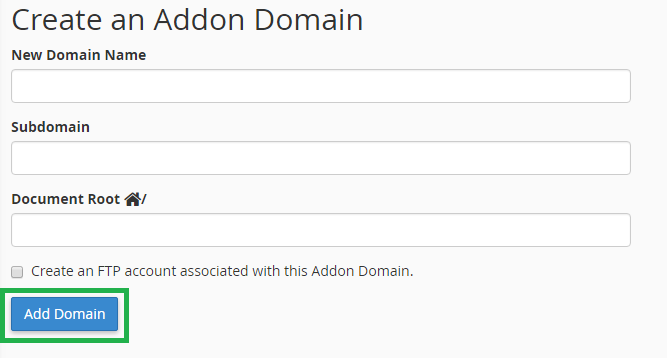
4. Click Add domain.
You may now upload content for your new domain into the corresponding document root.
Should you need to remove an addon domain, go to the Addon domains menu > Modify Addon Domain. Click on Remove to proceed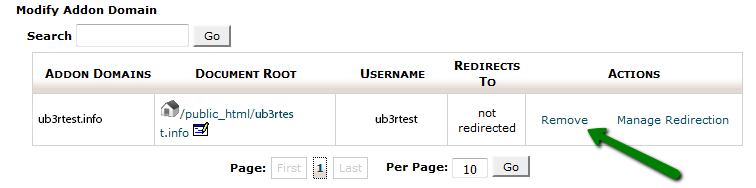
Check the Remove the associated FTP account option if you wish to delete the FTP account for your addon domain from the FTP Accounts menu in your cPanel, then click Remove: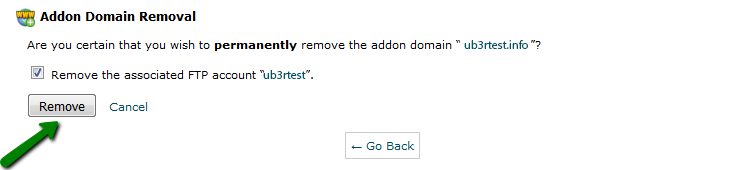
NOTE: The document root as well as the content associated with the removed addon domain will still be present in your File Manager, so if you wish these files to be deleted as well, you will need to remove the corresponding folder from File Manager manually.

